
Pocket Tutorial Part 2 Max and Meena Yogaloones
8:00 AMToday, we're covering the next part of the Max and Meena Pocket Tutorial.
You can get your pocket pattern pieces FREE on the Max and Meena Facebook Group. They're available to download in the files section.
On to today's tutorial.
Today we are covering 2 important things.
#1- How to cut a single pattern piece pant pattern in 2 so that we can insert the pocket
#2- The tutorial on how to sew up the inset pocket.
Part #1-
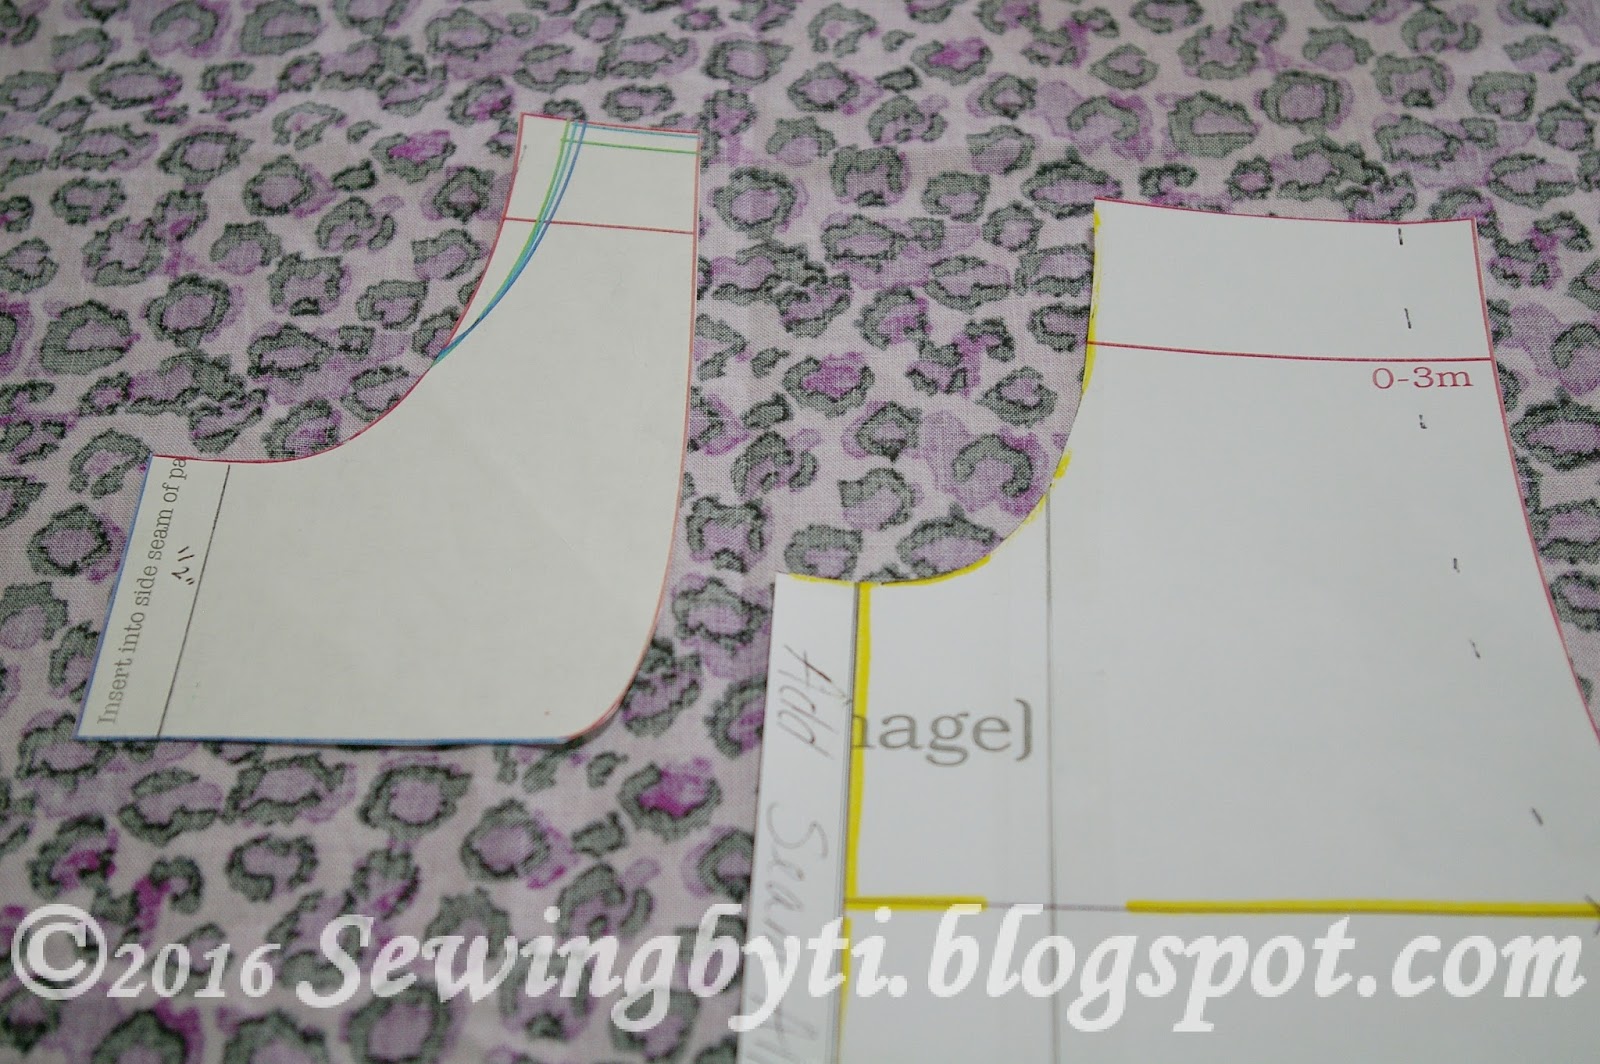
Ok, so you have the pants you want to put your pocket in but it is a single piece. So we'll have to cut the pattern in half. We don't want to do this without paying attention to how everything lines up, so let me show you the correct way to break your pattern piece apart. I want to send a special thank you to Jamie of Max and Meena for allowing me to share the image of the full pattern piece from the Max and Meena Yogaloones. Here we go:
 -Extend the "stretch" line on the pattern piece.
-Measure the pant hem and mark the half way point on your hem.
-Draw a line from the mark that you put on the hem through to the waist, being absolutely sure that your line is perpendicular to the stretch line.

-Add a 1/2" seam allowance to both sides of your pattern pieces.
We have now separated your pattern pieces. And we can get to the inset pocket tutorial.

To complete this tutorial you will need to cut out:
2 pant fronts
2 pant backs
2 inset pocket pieces
2 pocket bags (the piece without the curved cut out).
***Any other pattern pieces that you need to complete your pants. In my case, I had to cut out 1 yoga waistband.
I recommend using a 1/4" seam allowance on the pocket pieces. You may however use any seam allowance you like.

-Sew your pieces together along the curved area.


-You may find it easier to baste the top and sides together. I just use pins to hold them in place.
-Place your front and back pattern pieces together at the created side seam and stitch with a 1/2" seam allowance.
Proceed with pants as usual.


1 comments
I'm a bit late to this post but thanks for the awesome instructions! Did you end up doing a post on the joggers? I just purchased that pattern but couldn't see another post about pockets for that pattern. I can probably figure it out though from this one. Thanks again.
ReplyDelete