
Welcome back to No Fear Friday!

Please note. I have signed up for an Amazon Affiliate Account. I realize this post has a ridiculous number of amazon affiliate links. Please note that mostly I'm using this so I don't have to take photos of every single thing. This allows me to link you to useful products. There may be some place cheaper to buy these (like wawak). Using my links does allow me to make a few pennies to keep this blog running. Its cool if you don't use them. But if you're going to buy it anyway, please, use my link. :)
Today we're going to talk about preparing your fabric, pattern and tips for working with your machine. So as not to make this the longest post ever, we'll sew our first pair of pants (shorts or capris, whatever. From here on out, I'll refer to them as pants) on Monday as part of Monday Fails. We'll talk about how to NOT make it a fail. :) Be sure to read each post as there'll be chances to add links to the linky party with EVERY post.
Before we get started I want to reintroduce our sponsors from week 1 and our "preview" week. If you've already read the previous posts and added your links to the linky party, feel free to jump straight to the BOLD.
If you're worried you've missed something, feel free to click back to the previous 2 No Fear Posts:
Post 101 covers the intro do the series and a mini preview.
No Fear talked about the series and the fabrics you were going to need.
For this series, the giveaway will be randomly selected from the links in the linky party, so don't forget to go to the first post, "No Fear" so you know what links to use for the first week of the linky party. Last week there were 4 chances to add to the linky party, so that's 4 chances to win.
I want to give another shout out to 5 out of 4 Patterns (affiliate link) for including a coupon code last week. If you haven't grabbed your copy of the Versatility (or any of the other patterns) hurry over and grab yours now! I'll wait. Coupon code is NOFEAR and is valid through Friday at Midnight!
Hopefully, you've got your fabric in hand and are now waiting to hear what to do with it. I of course am using the fabric from my sponsor Nature's Fabric. Today's post will be all about cotton interlock and mine is ready.
Let's get started!
The single most important thing about sewing with knits is using the right needles! If you use a regular sharp needle, your needle is going to start shredding your project with every stitch it makes. You may not see it at first. It may take a few washes and then BAM, every spot where there is a stitch is a small hole in your fabric. And then those holes start to grow and you start to cry. So let's not go there. ALWAYS use the right needle for your project. I personally buy needles by the 100's on ebay. I keep a steady stash of 80/12 universal and 80/12 ball points. Aside from very special projects these 2 types get me through pretty much all of my sewing. You can order needles from amazon (link below), wawak, ebay, or go to your local fabric/sewing shop. If you aren't sure, please ask for help.
Now that that is out of the way, let's talk about sewing machines.
 My regular machine is a Huskvarna Viking Opal 670. It has tons of bells and whistles and all the features you might want in a machine. It makes sewing knits a breeze. But don't worry if your machine is a more basic machine, because I'll cover that next. So, if you have a mid to high end machine, you might have the following features:
-Auto tension. This means no playing with the tension so you get even stitches. WOOT! This is an added perk though and definitely NOT necessary, at all. But it is fun and convenient.
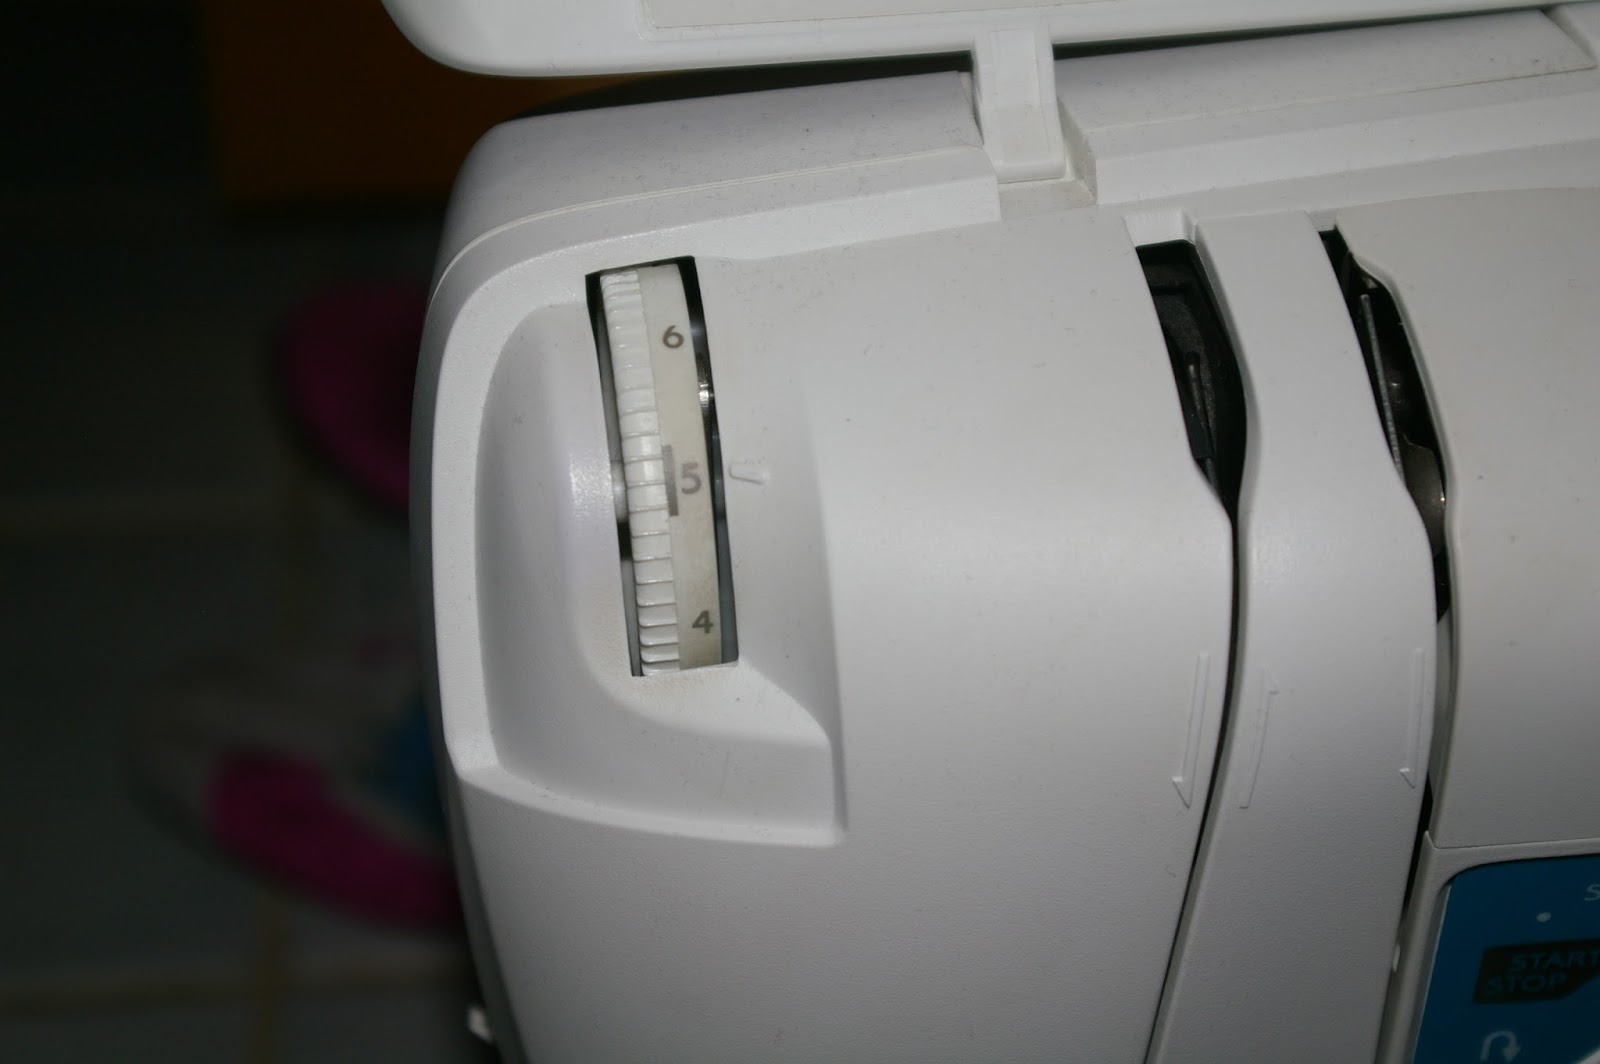 |
| My presser foot pressure is adjusted here on the front |

 Ok, so maybe you don't have a mid to high end machine. Does that mean you can't sewalong? Of course not. Thanks to my good machine breaking, I'm using my back up machine for this series. It is a Janome Hello Kitty Computerized Machine. Don't laugh. Seriously, stop laughing! Yes, my back up machine has a cartoon cat on it. But guess what, it can still sew knits, so :P What it can't do is adjust presser foot pressure. So how are we going to work around it?
1- Walking foot. A LOT of people swear by these. I actually think they make sewing knits harder. Yup, I said it. No, I am not sorry. But some people swear by them. Be absolutely sure you purchase the right walking foot for your machine and VERIFY that the stitch you have selected will clear the holes in the foot. Also, any stitch that involves the machine moving forward and backward will NOT work with a walking foot. You cannot sew knits backwards on these, so be sure to hand tie your stitches.
2- Knit Seam Tape. Be absolutely sure you buy knit seam tape, else your seams won't stretch! This stuff is a miracle product. When your machine won't stop eating your fabric, seam/hem tape can provide enough stability to allow you to sew it anyway. And because it stretches, You can also use it to stabilize any hems so that you don't get that ugly wavey mess that happens so often. I actually cut the 1" strips down the center and create 1/2" wide strips.
Please note, you can also buy tricot interfacing and cut it into strips. This is more time consuming but with a good coupon, it can be cheaper than seam tape.
3- Tissue paper. Knit Seam tape can be a little expensive and what if you run out and MUST finish your project. You can use tissue paper to help stabilize the seam. Put the tissue paper UNDER the fabrics you intend to stitch together and sew right on through. The problem with this is you then need to pick out all the tissue paper from your seam. That's too annoying for me!
4- Washaway stabilizer. This stuff is expensive, but you can use it just like tissue paper, except that once your seam is done, you stick the whole project in water and POOF its gone like magic. Just cut 1/2"-3/4" strips and place them under your seam. Sew your whole project like it is a woven.
5- In a pinch, you can use the selvedge edge of a 4 way stretch fabric to stabilize seams. Some fabrics don't print clear to the edge and I save those extra 4-6" and cut them into strips to stabilize my seams. Easy and you already have it on hand.
Ok, so now you've got some tricks for making your machine sew the fabrics, what stitches do you use? Most machines have the above mentioned lightening bolt stitch (#4). I have one here on my Hello Kitty Machine. But what if you don't? If your machine has any zigzag stitch, we can make it work. So what settings will you need? You want your stitch to be as narrow as possible while still being a zigzag. Try using a width of 1.5 and length 2.2.Now, we practice!
How will we practice? I want you to cut a 6"x6" strip of fabric from the corner of your interlock.
Some tips for cutting knits. If you're going to use scissors (I hate scissors), pin carefully and be sure you aren't stretching your fabric as you go along and cut. When using a rotary cutter, remember that knits dull the blades faster than wovens. Be sure your blade is sharp and use plenty of pattern weights at first. I now only use 1-2 weights per project like pants, but when you're just learning, you don't want your fabric slipping anywhere. Take your time.

 |
| Sew down the length of your fabric first. Then sew across the width of your fabric. |
 |
| Your stitches should look even and flat, just like this. |
 |
| This is rayon fabric with 4 way stretch. THIS is why I said don't buy rayon! Can you see all the waves in the seams? Those waves will NOT iron out. Your seam will be permanently wavy. If this is you, you need back up help. |
 |
| Hem tape to the rescue. The hem tape goes on TOP of the seam. |
 |
| And there you have it , a flat, not wavy seam. |
 |
| Another photo of the flat seam. Hem tape can be like magic. It is a great back up plan. |
Last but not least, assemble your pattern (follow the directions from the pattern) and cut your fabric.
Ready for the linky party? This week, please link up the sewing machine you are using. A photo of the stitch you are using for your knits. A photo of your sample. And for bonus points, share a picture of your cutting area with either cutting mat and rotary cutter OR scissors. That's 4 more chances to register to win!
If you're feeling brave, you can go ahead and sew up your first pair of pants from cotton interlock. Check back on Monday where we actually get to the sewalong part and I give you 4 more chances to register to win in the linky party.


0 comments